With big name streamer stars like Ninja and Shroud moving from Twitch to Mixer, there’s a renewed interest in Microsoft’s growing gaming livestream platform. Recent moves have inspired many streaming newbies to consider that maybe Twitch isn’t the only place to get their sick skills seen, so you may be wondering how to get started streaming on Mixer. The good news for veterans is that it’s not that different from any other streaming platform, but we do have some helpful advice and tips to get you started.
Mixer vs Twitch
As with most gaming platform divides, there are some evangelists who will tell you theirs is the best without considering the merits of others. Twitch, as the undisputed (until now) heavyweight of the streaming world has enjoyed years of being the only name in the game. As a result, it has a huge viewer base and a solid, established place in communities for many different games. While this is great if you’re trying to find streamers into the same games as you, it also gives new streamers a discoverability problem on Twitch.
Mixer is relatively young and new, which means it has the opposite advantage and disadvantage. As a streamer, it’s easier for you to be discovered while streaming due to there being fewer streamers in your category, but it’s harder to find fellow fans of games that you connect with as a viewer. Both have useable UI and features, though Twitch has only recently dragged itself up by the bootstraps in that regard. If you think it’s worth reaching out in a new community, here’s how to get started on Mixer.
How To Stream On Mixer
If you’ve not already got one, go ahead and create a Microsoft Account now. You can start by going to Log In in the top right of Mixer.com. You’ll need an account to stream to the service and start following people, too, but if you have an account that you use to log into Windows 10 then you can just use that.
Next, decide what platform you’re going to be streaming from. If you’re going PC, then make sure that the account you use to log into Windows 10 is the same as your Mixer account. From there, it’s as simple as launching the game you want to stream and then hitting Windows Key + G. This opens up the Game Bar. This is an overlay that lets you choose broadcasting and video capture settings. If that didn’t work, navigate to Start > Settings > Gaming and then you can turn on the Game Bar. You can also set quick shortcuts for starting and stopping broadcasting, like, say assigning it to one of the 12 function keys on the Alloy Origins keyboard. More details, such as the title of your stream and so on can be customized through your Mixer.com channel page.
If you’re streaming from Xbox One, press the Guide button in the middle of the controller to bring up the guide menu. From there, scroll down to the broadcast tab (like a satellite dish) and then choose “Broadcast your game”. This will show just your gameplay and if you want to change any of the details you’ll need to head to the Mixer.com channel page on a separate device.
If you want more flexibility with your stream, including adding overlays and facecam, you can use broadcast software such as OBS or XSplit. We won’t go into detail about the available software you can use to add more flair to your broadcasts, but if you want to experiment, then you’ll need one important bit of info from Mixer: the Stream Key.
Head to Mixer.com and log in, then click your avatar and head to the Manage Channel menu. In here you’ll find all the details about your stream (you may want to enable “Keep recordings (VoDs) of my streams” for an archive for future fans). You’ll see at the top of the menu a box with an alphanumeric code. This is your Stream Key. Copy it and head to the settings menu of your broadcast software. Navigate to the Stream setup, OBS will ask you which service you’re using and choose Mixer then paste the Stream Key where it asks you to.
XSplit also has an extension for Mixer which you can download from the Plugin Store under Outputs. You can then set it up as a new output in a scene and log into Mixer through the app itself.
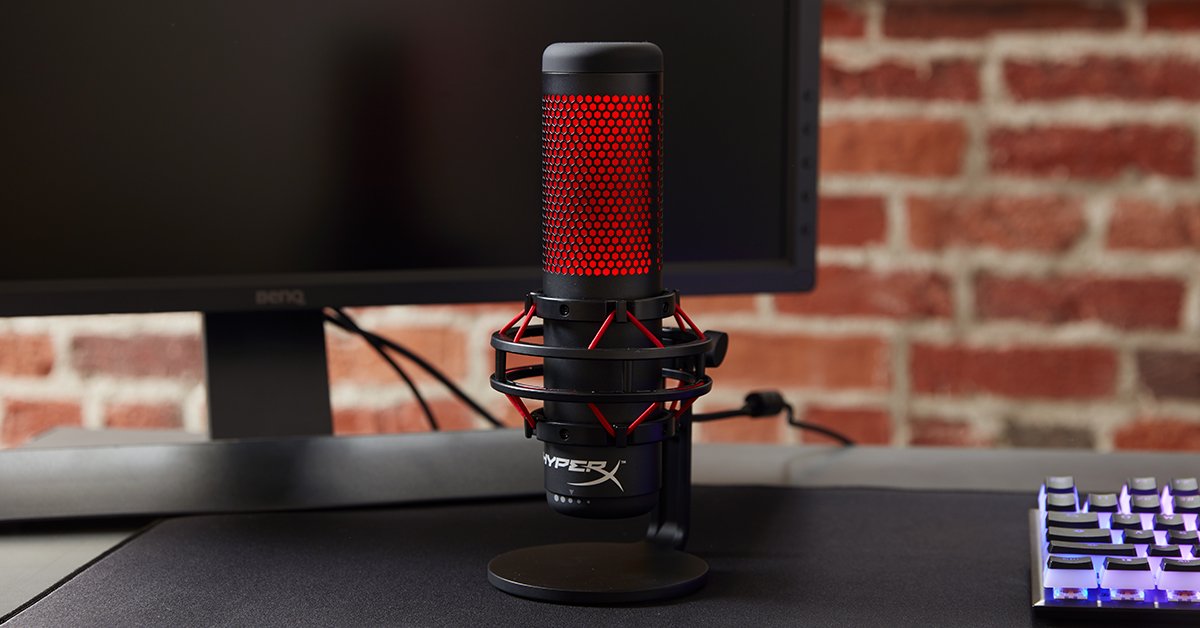
Now that you know how to stream from Mixer using OBS or XSplit you can figure out how to stream from PS4 as well. All you need is a capture card, such as an Elgato, and that will allow you to select the PS4 video as an input on a PC running the software. Of course you’ll need some more gear for a perfect streaming setup, including a great microphone with an anti-vibration shock mount, like HyperX's QuadCast Microphone.
If you want to know more about how to get started streaming, take a look at the gift guide for beginner streamers for some more ideas on how to upgrade your setup. Now that you know how to stream from Mixer you can get your gameplay out there and start winning over fans!