Once you reach the Dreaming City in Destiny 2: Forsaken a whole new world of content opens up to you, including many new items to collect. The Tincture of Queensfoil is one such item. Vital for hunting down Ascendant Chests and completing Ascendant Challenges, the Tincture of Queensfoil allows Guardians to look between more dimensions, opening up new challenges to complete. There are a few different ways to earn more of this vital item, but in case you’re struggling, this guide will teach you how and where to get Tincture of Queensfoil in Destiny 2: Forsaken.
(Looking for Lore Crystals? Check out our guide for where to find them!)
How to get Tincture of Queensfoil

- Complete Ascendant Challenges
- Find Ascendant chests
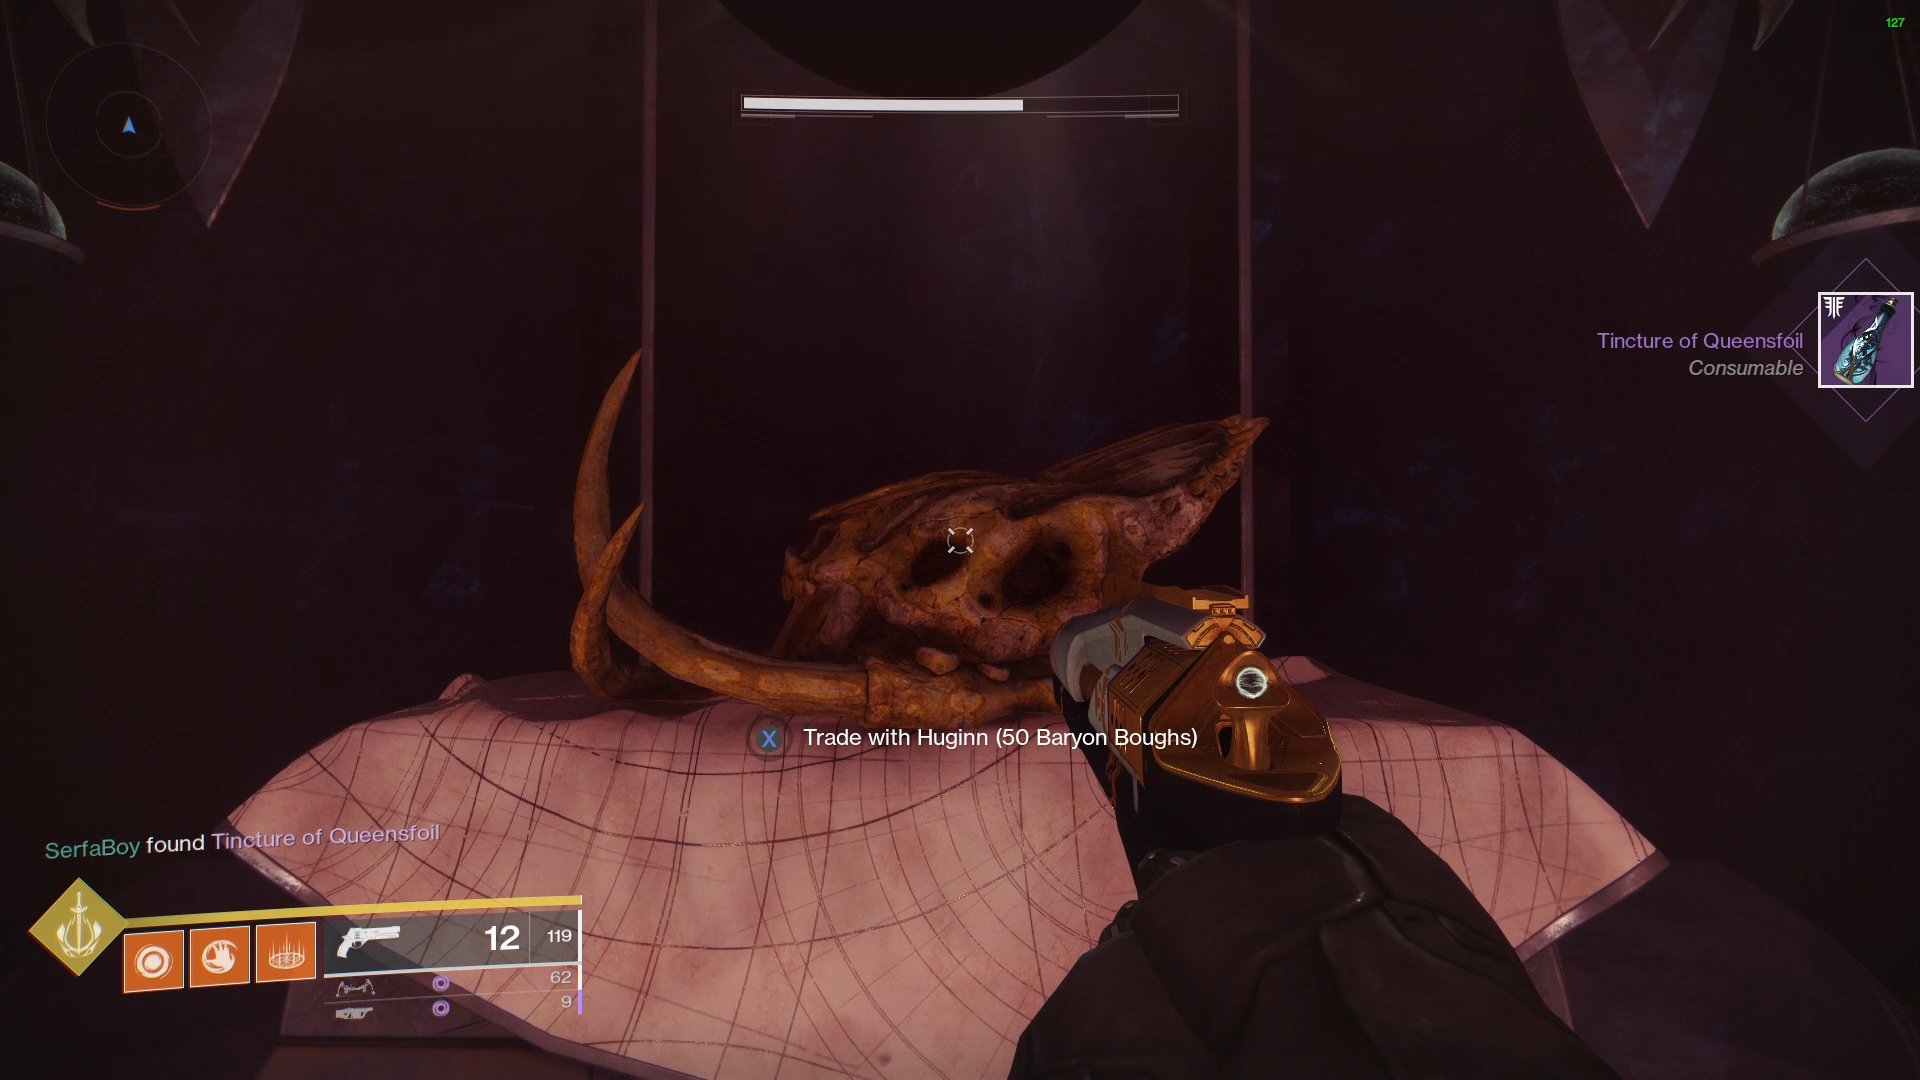
- Trade 50 Baryon Boughs with Huginn
There are three main methods to earn Tincture of Queensfoil, and the first two unfortunately require you to already have one in your possession. After you’ve completed some initial quests in the Dreaming City, you should be rewarded with one allowing you to start hunting down Ascendant Chests and Challenges for Petra Venj, but it’s also possible (and a good idea) to visit Huginn and purchase a bunch more.
If you haven’t met Huginn yet, it’s a (presumably) sentient skull you can find in Harbinger’s Seclude. While it’s possible to get there overground, you’ll need to fight an awful lot of tough enemies. A better route is to head through the portal network below.
Starting from the Divalian Mists you’ll want to travel to the Spine of Keres, which you’ll have visited in one of the first missions in the Dreaming City. To get there from the spawn point, head forward and to the right to reach the valley outside the mountain front. Turn left into the crystal cave and keep going until you reach the Spine of Keres. Keep to the left as you progress and you’ll reach a bridge, but instead of walking over it, drop off to the right of it and land on the path there.
You’ll find the first portal you need down here, so travel through it and then take a left, passing through the hallways to reach The Confluence. Here you need to take the stairs on the left, past the statue and into Harbinger’s Seclude. There’s another portal here which will take you to the caves. Head out of them and cross the large area to your left. You’ll find Huginn’s skull inside the door on the right.
So long as you’ve got the Baryon Boughs, you can now purchase as many Tinctures of Queensfoil as you need, meaning you can take on multiple Ascendant Challenges! In fact, while you’re here it can be handy to pick up a Charge of Light from Huginn too. It’s cheaper than the Tincture and will let you access the Blind Well event, the best way to earn a Seed of Light and unlock your second subclass.