


Welcome to part one of our Little Nightmares walkthrough where you'll navigate our wee yellow-coated protagonist Six through the perilous rooms of The Prison. This area will introduce you to all the mechanics and familiarize you with the gameplay.
You won't encounter that many enemies here, so feel free to get comfortable with movement and the controls so you can refine your platforming abilities before heading into the more dicey locations of this game.
Little Nightmares Walkthrough Part 1 - The Prison

In this portion of the game, you’ll find the following collectibles:
- 3 Nomes
- 2 Statues
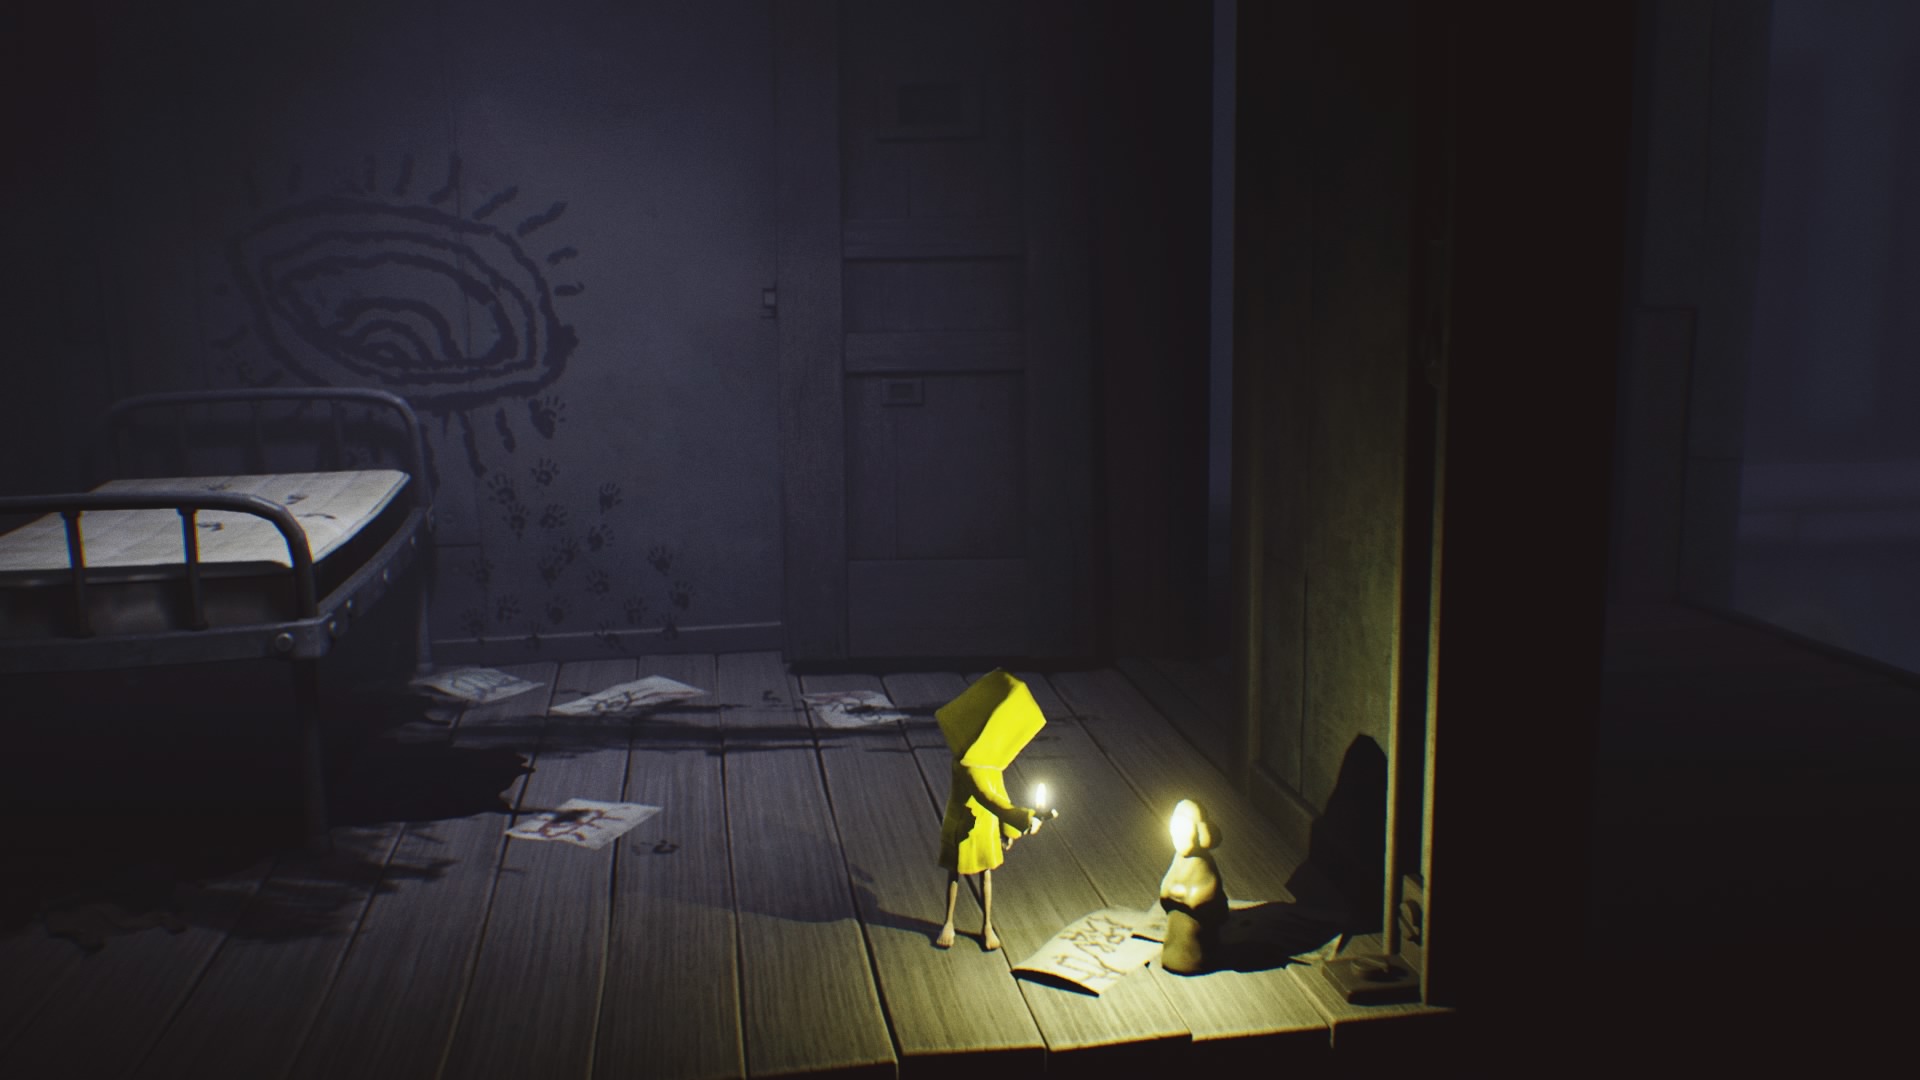
Little Nightmares begins with Six in a dimly lit room. Walk to the right and use your lighter to turn on the lantern on the floor. Open the hatch and crawl through it. Keep crawling until you make it into the next room.
There’ll be some stairs. Make your way up them and grab the doll hanging out in the nook before moving forward. Throw the doll on the floor to break it then climb up to the top of the bed. There will be an opening off to the right that you should be able to jump to that will take you to another room.
In this room there will be a chair. Push it to the door and climb on top of it to open the door. Head into the next room. Pull open the fridge door and inside, you’ll find a ladder.
Before climbing the ladder, look for a secret room entrance to the right. It’s here where you’ll find your first Nome. You won't be able to take him along with you.

Return to the Fridge and use the ladder to climb up. Walk to the right, avoiding the slime that falls from the ceiling. In the following room, climb on top of the box to use the switch that opens the door on the right.
Go through the door where you’ll find a boarded up doorway. Rip the bottom board off and climb through it. As you’re pushing forward, the floor will collapse from beneath you and you’ll end up in a room full of slime.
Jump over the slime and make a run for the door on the right. Push it down to escape.
You should now find yourself in a walkway. Jump the gap, light the lantern, and use the boards to climb up. Walk across the beam and head up the stairs. When you reach an intersection, face forward and continue to the end of the path. Jump over another gap and keep going up the stairs.
Carefully walk the dimly lit path on the left until you see a lever. This lever controls the door to the right which will only remain open while you are turning the lever. Turn it as far as you can and make a run for the door.
Open the hatch in the back of the room and inside will be a Nome which will escape through a hole. Proceed to the right until you find a rope and climb it. Light the lantern and squeeze through the door that’s slightly ajar. Close the door to expose a switch.
This switch controls the electricity running in both of the rooms. You’ll have to move over the box of toilet paper to reach it and shut it off. You’ll only have a short amount of time to do this, so shut it off and make a run for the first doorway, pass through the room, and out the last doorway.

In the case you don’t make it the first time, you can climb the dresser or see-saw to reach the a small opening that takes you back to the previous room where the switch is.
Walk by the cells and enter the next room. In this room you can use the shadow casted by the pillar and bed to avoid being seen by the spotlight.
On the left, climb the crates, lighting the lantern as you do so. Once you reach the tallest set of crates, you’ll see a Nome in a cage to the right. Make a running jump, making sure to grab the ledge if you don’t make it all the way or you’ll die. Crawling through the cage will take you to another room where the Nome will be. Grab him, light the lantern, and go back to the last room.
Climb back to the top of the crates. Make a left and head into the background. There should be a small room with a statue. Break the statue, and then head back to the right and onto the next room.
In this room, hide under the bed as a huge body will go through the room and out the door you just came in. On the left side of the room will be cages that you can climb to reach a path. Head to the right and go through the opening that takes you into the next room.
In this room, you’ll start to feel the effects of your hunger. You’ll see a kid in the room eating. Use the bars to get close to him and he’ll give you some food. Eat the food before continuing.
Climb the boxes and proceed through the next rooms and across a bridge. There will be an electric gate in your path. Use the boxes near the gate to make your way around it. Once you can’t continue, make a jump to the right and keep climbing.
When you reach the end, light the lantern and jump over the hanging boxes. Begin to climb the boxes, and use the chain to climb up higher. When the chain swings close enough to the right, jump and continue to climb. You’ll find a level on the wall. Pull it down.
When you pull it, the boxes and chain will raise to your level. There’s another lever close by that controls which way the chain moves. Move the boxes as close to you as you can, then move the lever to the left, quickly making a jump onto the boxes. You may need to grab onto the box if you can’t make the jump fully.
The boxes will continue to move left. Climb the chain so you can jump to the ledge once they stop. Once you’ve reached the ledge, keep moving to the left into the next room.
In this room will be 3 filing cabinets. On the wall, all the way to the right is a switch. On the left most filing cabinet, pull the bottom cabinet out and climb on top of it. Repea this for the next cabinet. Once you’re on top of the second cabinet, jump to the top of the filing cabinets to the right.

Once you hit the switch, you can continue past the gate on left. This one won’t turn back on so you can take your time. Keep moving left, lighting your lantern as you go. In the background, you’ll see some crates. Open them to free another Nome. This little guy will run into the room you just came from and hide in the left corner. Follow him and give him a hug.
Head back to the room on the left. There will be a metal crate you can push into the hole in the center of the room. This will present you with a noose that you can jump over to, grab, and proceed to the lower level with.
This room will look familiar but you’ll be about to go through the gate on the right with the power out. Try to avoid the slimes in the shower room and use your light to navigate through the room.
Head across the bridge and through the gate. You’ll be met in this room with another spotlight. Utilize the crates and garbage to conceal yourself from the spotlight as you move to the right.
Quickly run and jump across the gap made by the shrinking bridge then swiftly climb the large crate and jump over to the ledge on the right.
Continue to Little Nightmares Walkthrough Part 2: Enter The Lair
If you're a completionist like we are, make sure you learn how to unlock all 13 of the achievements and trophies in this game.