A standalone microphone isn’t a necessity for online gaming, but perhaps you just don’t like having the microphone from your headset hanging out in your peripheral vision, or impeding your snacking. If you’re planning to play with friends or want to get stuck into competitive titles like Valorant or League of Legends, you should consider all microphone options. A high-caliber microphone won’t just improve your communication when gaming, it’ll step up your quality in all those Zoom chats, online classes, and work-from-home calls. A dedicated device can be intimidating, but in this guide we’ll take you through how to set up a microphone for both gaming and Discord.
Where to place your microphone
The first thing you’ll need to consider when setting up a microphone is where to place it. Some mics like theHyperX SoloCast only capture audio properly from one direction, so if you have one of those, you’ll need to ensure that it’s close and pointing towards you. Typically, the section of the microphone with a grill is the area you want to speak into, so make sure the broad side of that is pointed towards your mouth. It won’t need to be directly in front of your face, and positioning it to the side can help cut down on unwanted pops and breathing noises. Don’t worry, you’ll have the chance to adjust this later based on how you sound.
Set up your microphone on a sturdy surface that isn’t too far from your face but also doesn’t get in the way of your hands while you’re typing or using the mouse. Unless you’ve got built-in noise suppression, you may also want to position it away from your keyboard, to avoid transmitting all those keypresses and mouse clicks while you type or game.
If you want more freedom for positioning and the option to record multiple people in the same room, consider opting for a microphone like the HyperX DuoCast which also includes an omnidirectional polar pattern. Even more versatile is the HyperX QuadCast S. It grants access to a range of polar patterns that’ll suit almost any environment. Omnidirectional recording will capture audio from multiple sources from 360 degrees. The cardioid polar pattern is perfect for prioritizing sounds directly in front of it, and the stereo pattern is tailored to pick up sounds on either side of the mic while minimizing everything else. It also comes with an in-built pop filter and anti-vibration shock mount to avoid any of those bumps or unwanted sounds from getting through.
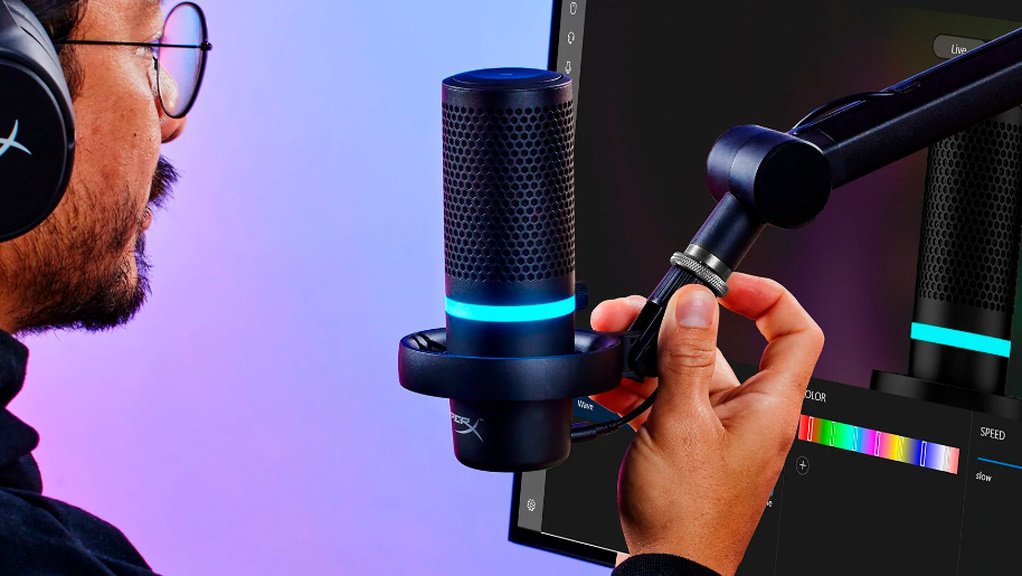
If you want to make things a little fancier, you can also consider picking up a boom arm. These extendable and adjustable stands can be affixed to the edge of a desk, or can also be standalone. They’ll allow you to suspend your microphone in the air, further reducing unwanted vibrations and giving you even more placement options. And for if you want to get really opulent with your audio? The HyperX ProCast's gold-sputtered large diaphragm condenser brings professional grade quality to both your recordings and Discord conversations. Just be aware that it uses an XLR connection instead of a standard USB.
How to set up a microphone for gaming
Computers these days are pretty smart, and when you plug in a new bit of technology like the new HyperX QuadCast S, they’ll install the appropriate drivers for it automatically. Connect your microphone via USB, and if you’re using Windows, you should see an icon or message in the bottom right of the taskbar informing you of the driver installation. Click the small up arrow to show more icons if you think it’s hidden and want to check the progress.
Once the driver is installed, using your microphone when gaming really should be as simple as that. The trouble is, there are a huge range of products that you generally use while you’re using a microphone, including headsets, webcams, and more. To make sure Windows is using the correct audio device, you’ll want to open Sound Settings. To do this, either right click on the speaker icon in the bottom right of the screen, or use the search bar to locate Sound Settings.

Here you can set the default output (speakers) and input (microphone) devices. Since we’re interested in the microphone, you’ll want to click the drop-down menu on input. Select your microphone and, with it switched on, see if the “Test your microphone” bar is moving when you speak into it. If not, you might need to check that it’s plugged in and switched on properly.
If you want to get fancy here, you can set up different default microphones for each of your running programs by clicking on the “App volume and device preferences” button under “Advanced sound options.” This is a particularly handy feature when you want to use your DuoCast in-game, but also want your Discord chat to use your wireless Cloud Flight S headset, just in case you have to get up to grab a snack.
From here, your microphone should work automatically in most games, but it’s always worth opening the in-game settings just to check. Every game is different, but if it supports a microphone, the audio settings should let you check which device your computer is using, as well as adjust whether you’re speaking via Voice Activity or Push To Talk. For the latter, you’ll also want to choose an easy key to press so that you can communicate.
How to set up a microphone for Discord
As a dedicated chat program, Discord lets you get a bit more particular with its audio settings. To this end, you’ll want to make sure it’s using your new microphone properly. Fortunately, it’s pretty simple to set up.
Once your microphone is working with Windows, click the cog icon in the bottom left corner of Discord, next to the microphone and headset icons. Next, click Voice & Video from the list on the left side.

In this tab, you can set the default input device for Discord from the drop-down menu. Windows defaults can change incorrectly from time to time, so this should be your first stop whenever your friends can't hear you in Discord. Just look for and select your HyperX ProCast (or other mic of choice) on the dropdown list and your dulcet tones will once again be wowing everyone in the channel. By adjusting the input volume bar underneath, you’ll lower and raise your own volume when heard by others. You can also easily do this manually on the QuadCast S by rotating the Gain Control.
The Let’s Check button will allow you to test that Discord is receiving your microphone and gives you the chance to hear how you sound. Use this to adjust your input volume and the positioning of your mic until you sound crisp, clear, and loud enough, without picking up your keyboard/dog/sibling shounting in the other room.
Once all your settings are sorted, you're ready to hit the voice channels to chat and game together with your friends. Just remember to check that you're not muted before launching into any Discord-based Karaoke sessions.